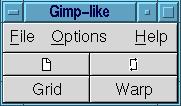
Tool Box
This assignment is the continuation of the Image Manipulation Tool that I wrote for the assignment 2a. The new utility that I have added is the Warping tool.
What
is warping?
Any
transformation that changes any of the image's geometric properties is
called warping. Transformations that change color, luminance, contrast(pixel
values) but not geometric attributes are NOTwarping.
I used Gtk and OpenGL commands for writing the code for performing the warp transformation. I used Inverse mapping technique for getting the warped image.
The opening window called the toolbox window, where the tools for performing scaling, rotation,warping and for putting grids on the image is the first window the user sees when he types in 'maniptool' in his command line prompt. There is a menu bar present in this window which allows user to open a file, save a file and to read the help pages.
Tool Box
Clicking 'File' popups up a menu, and selecting 'Open File' opens up a new window to select the image files for the display. This is the same window we got in 'Scaling and Rotation' assignment. Recall...this is how the 'Select window' looks like:
File Browser
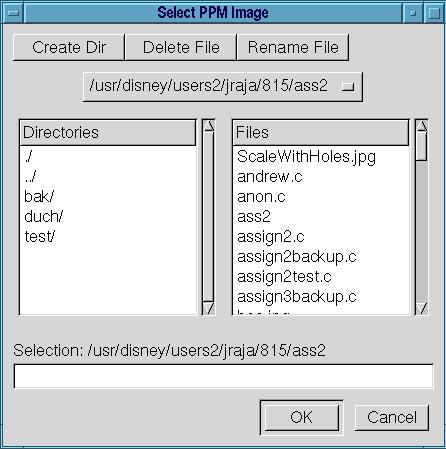
click on the image for full size
After selecting the file, clicking 'OK' button will open up a new window with the image on it. An important factor to note here is that the user can open multiple windows at a time.
This is the original(raw) image which i used for warping.
Original Image

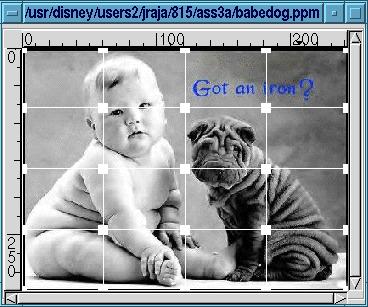
Clicking on the "Grid" button opens up a new Grid lines window for us to type in the number of grid lines needed for the warp.

After
typing in the value, clicking 'OK' button results with a mesh drawn on
the original image.
Image with the mesh lines
The
mesh lines and the control points on the image can be removed and
re-drawn by clicking the Middle Mouse Button. Removal and Re-drawing of
the mesh takes place alternately with the click of the Middle Mouse Button.
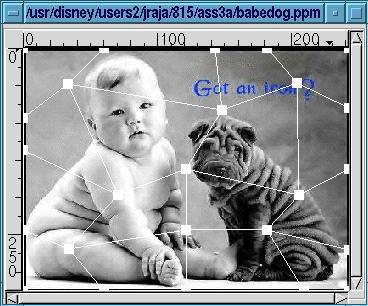
Say, the control points are moved as shown in the below image.
Image with altered mesh
After moving the control points to desired positions, clicking the "Warp" button in the ToolBox window performs the warping. You get a warped image with the mesh.
Warped Image with mesh

The mesh over the warped image can be removed by clicking the Middle Mouse Button. And again if the user wants the mesh over the image, clicking the Middle Mouse Button again will redraw the grid on the image. So, Clicking the MMB performs two operations alternately.
Warped Image without mesh
More Images....................
 |
 |
 |